How do I add a trail to Trailguide
 Bjørn Jarle Kvande
On Trailguide you can add trails (singletracks) or longer tours (mix, road, gravel, etc) where you can ride your bike. To add a trail, you need a good quality .gpx file with proper height data and no detours.
1. Go to trailguide.net using your web browser on the computer
You can only add trails using the computer, not a mobile or tablet.
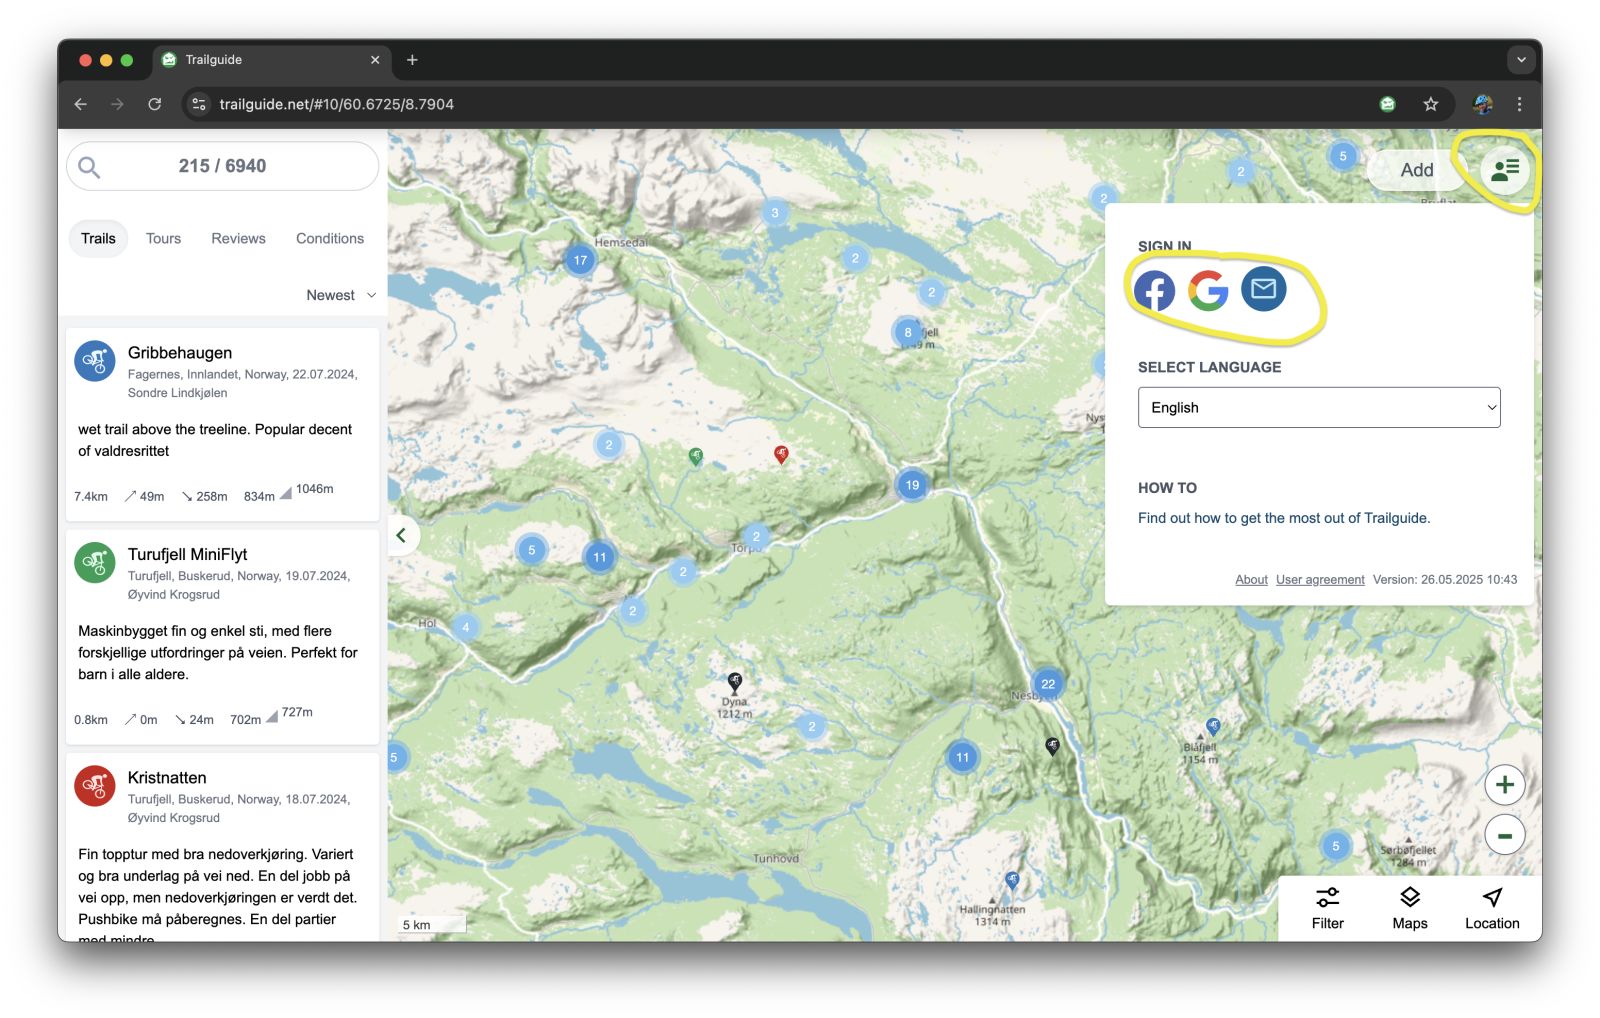
2. Log in (using your Google or Facebook account)
To keep up the quality of content we require you to be logged in using your Facebook or Google account. Your account will be shown along with the trail you add. If you want to log in using your email instead of Google or Facebook, you will also need to purchase a Trailguide Premium subscription to be able to add content.
3. Click on "Add" to open the trail editor
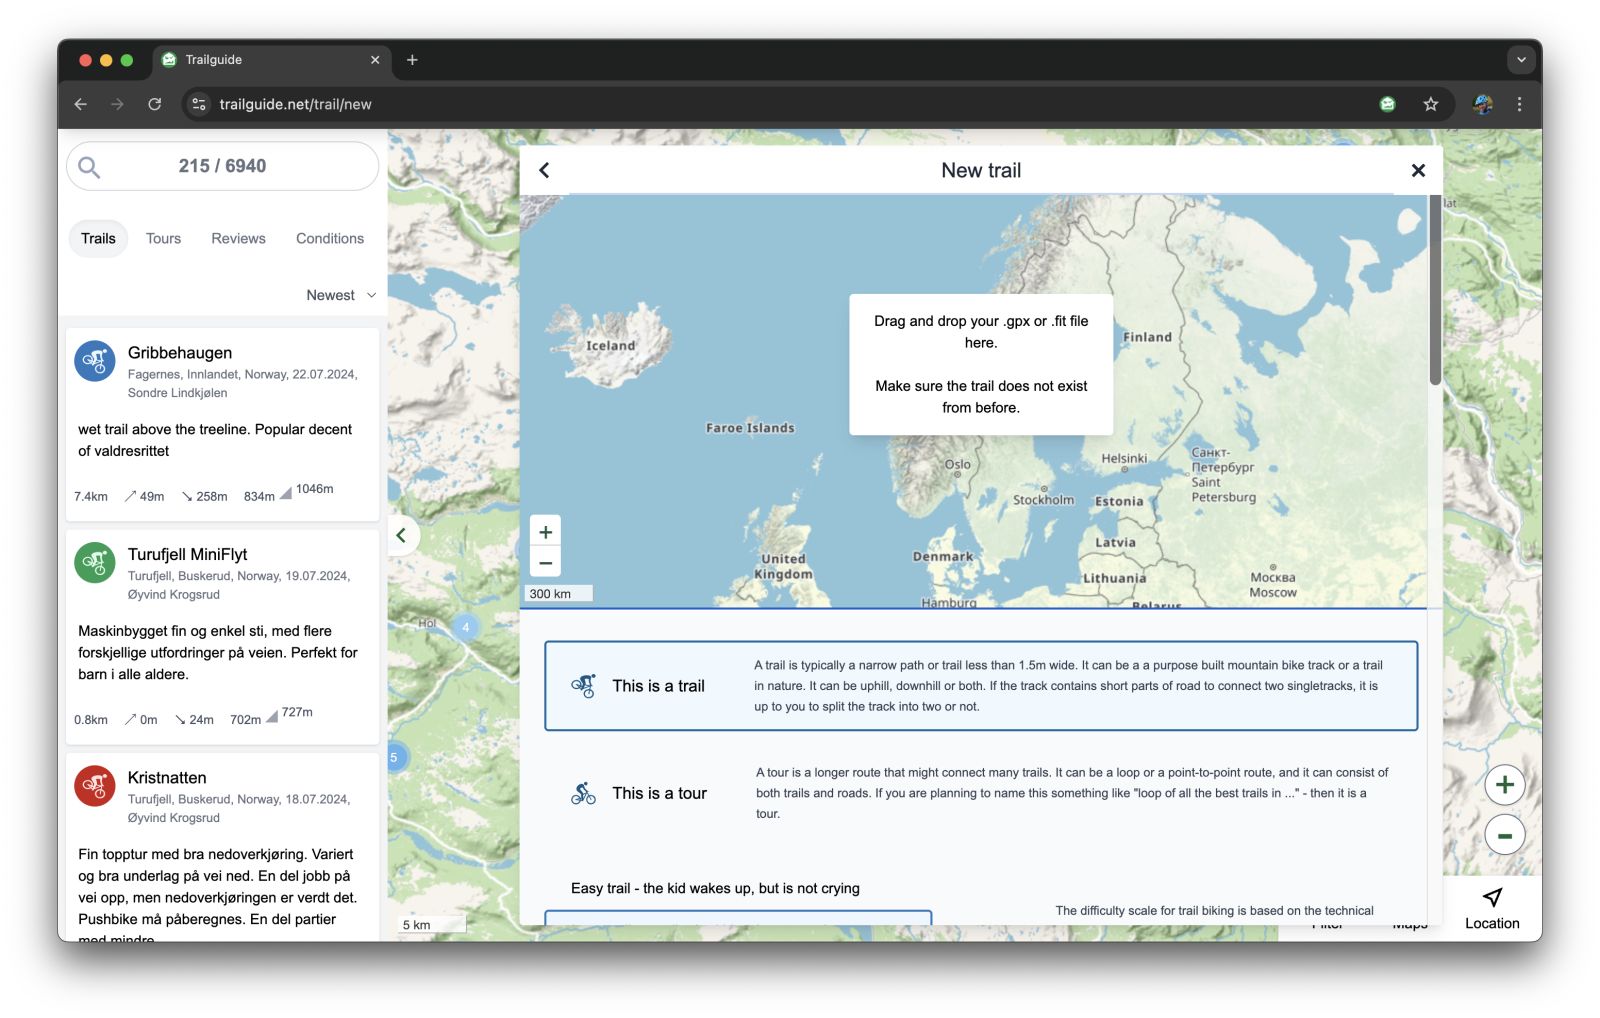
4. Drag and drop a GPS-file into the trail editor (.gpx or .fit)
Crop the file if needed by sliding the start and end point.
You can also reverse the trail if it happens to be in the wrong direction.
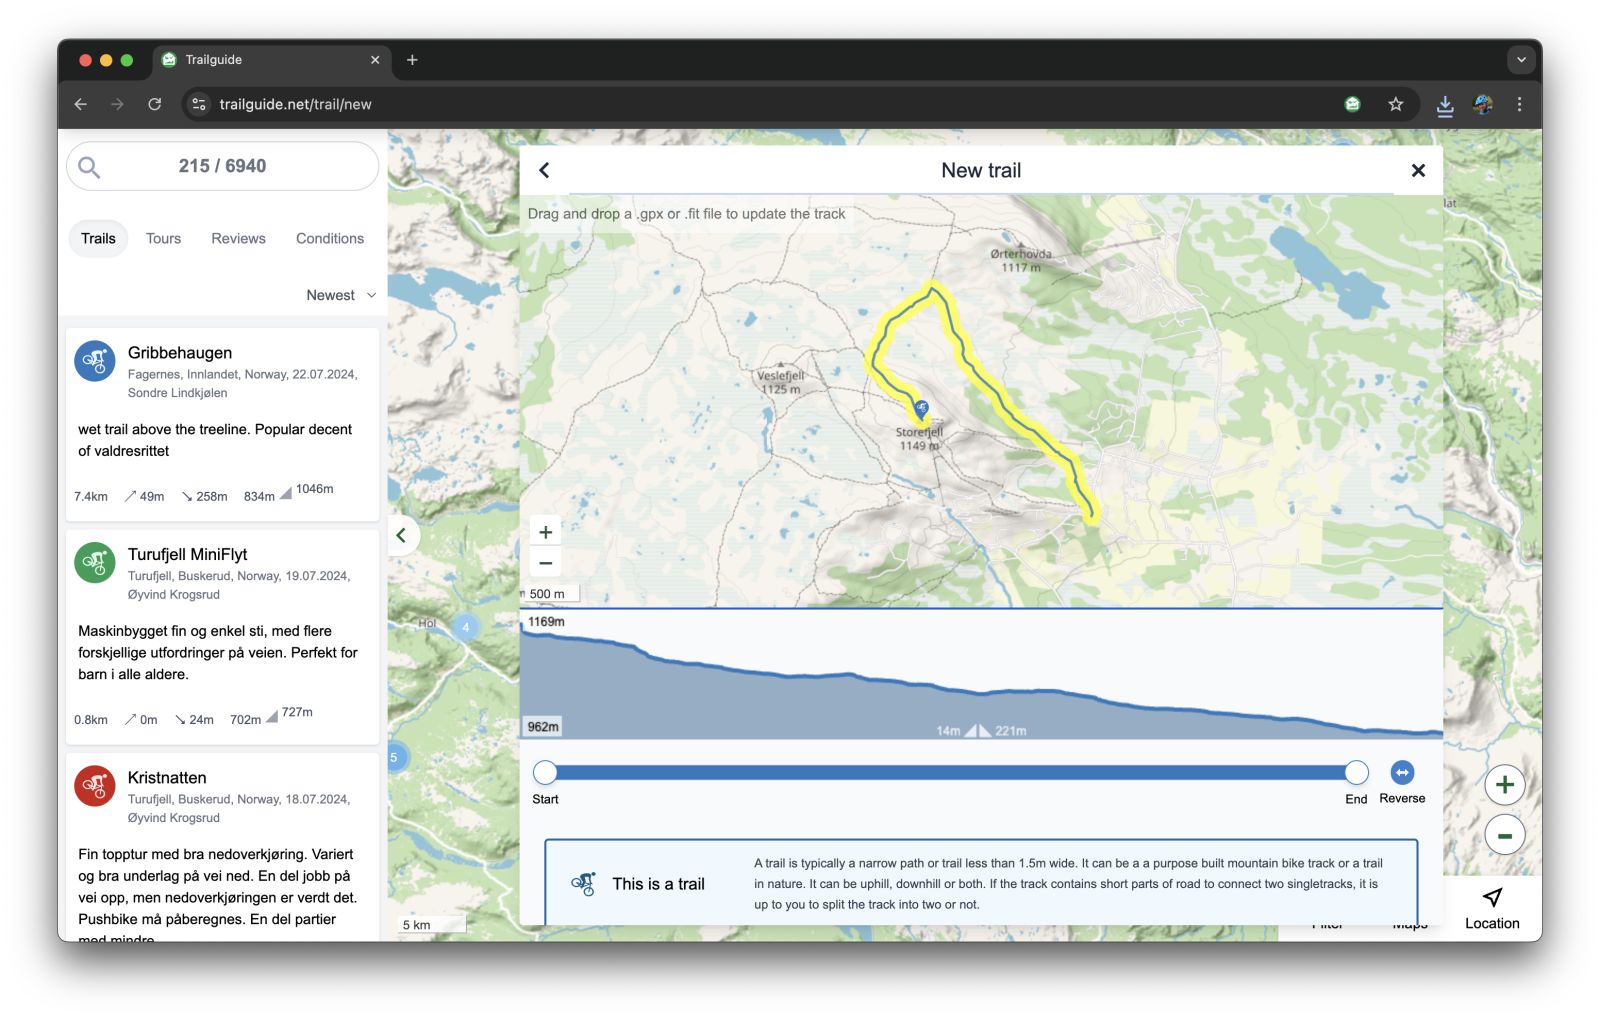
5. Select the type, difficulty level and visibility.
A trail is typically a narrow path or trail less than 1.5m wide. It can be a purpose built mountain bike track or a trail in nature. It can be uphill, downhill or both.
A tour is a longer route that might connect many trails. It can be a loop or a point-to-point route, and it can consist of both trails and roads.
Read more about the difference between a trail and a tour in our content quality guidelines.

Difficulty level: Imagine you are on the trail with bicyle trailer with a sleeping kid in.
- Easy/Green: The kid wakes up, but is not crying.
- Intermediate/Blue: The kid wakes up and is crying.
- Difficult/Red: The kid is gone.
- Expert/Black: The bicycle trailer is gone.
A Public trail will be visible on the map. A
hidden
trail will only be visible in the user account page. A
secret
trail will only be visible to the user who added it.
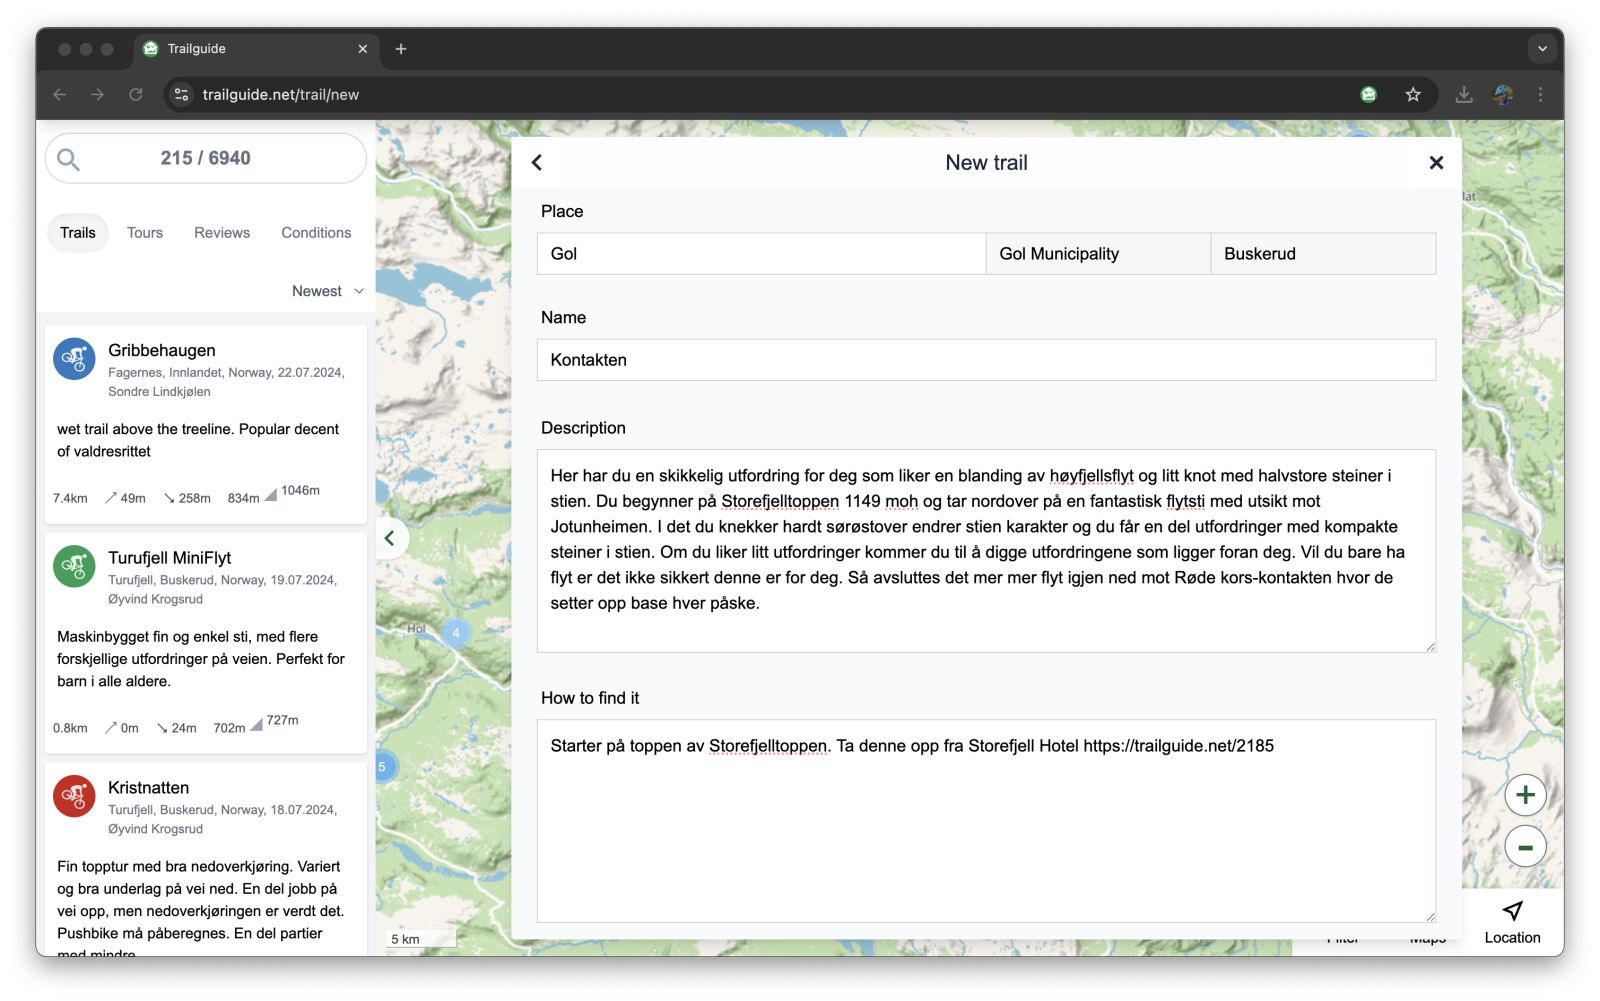
6. Trail name and description
Add a trail name, and description and use the bottom box to describe where to find the trail. The description box is aimed to give users an idea of how the trail is generally experienced.
7. Trail characteristics
Select characteristics that describe the trail. Add a YouTube link if you want to embed a video.
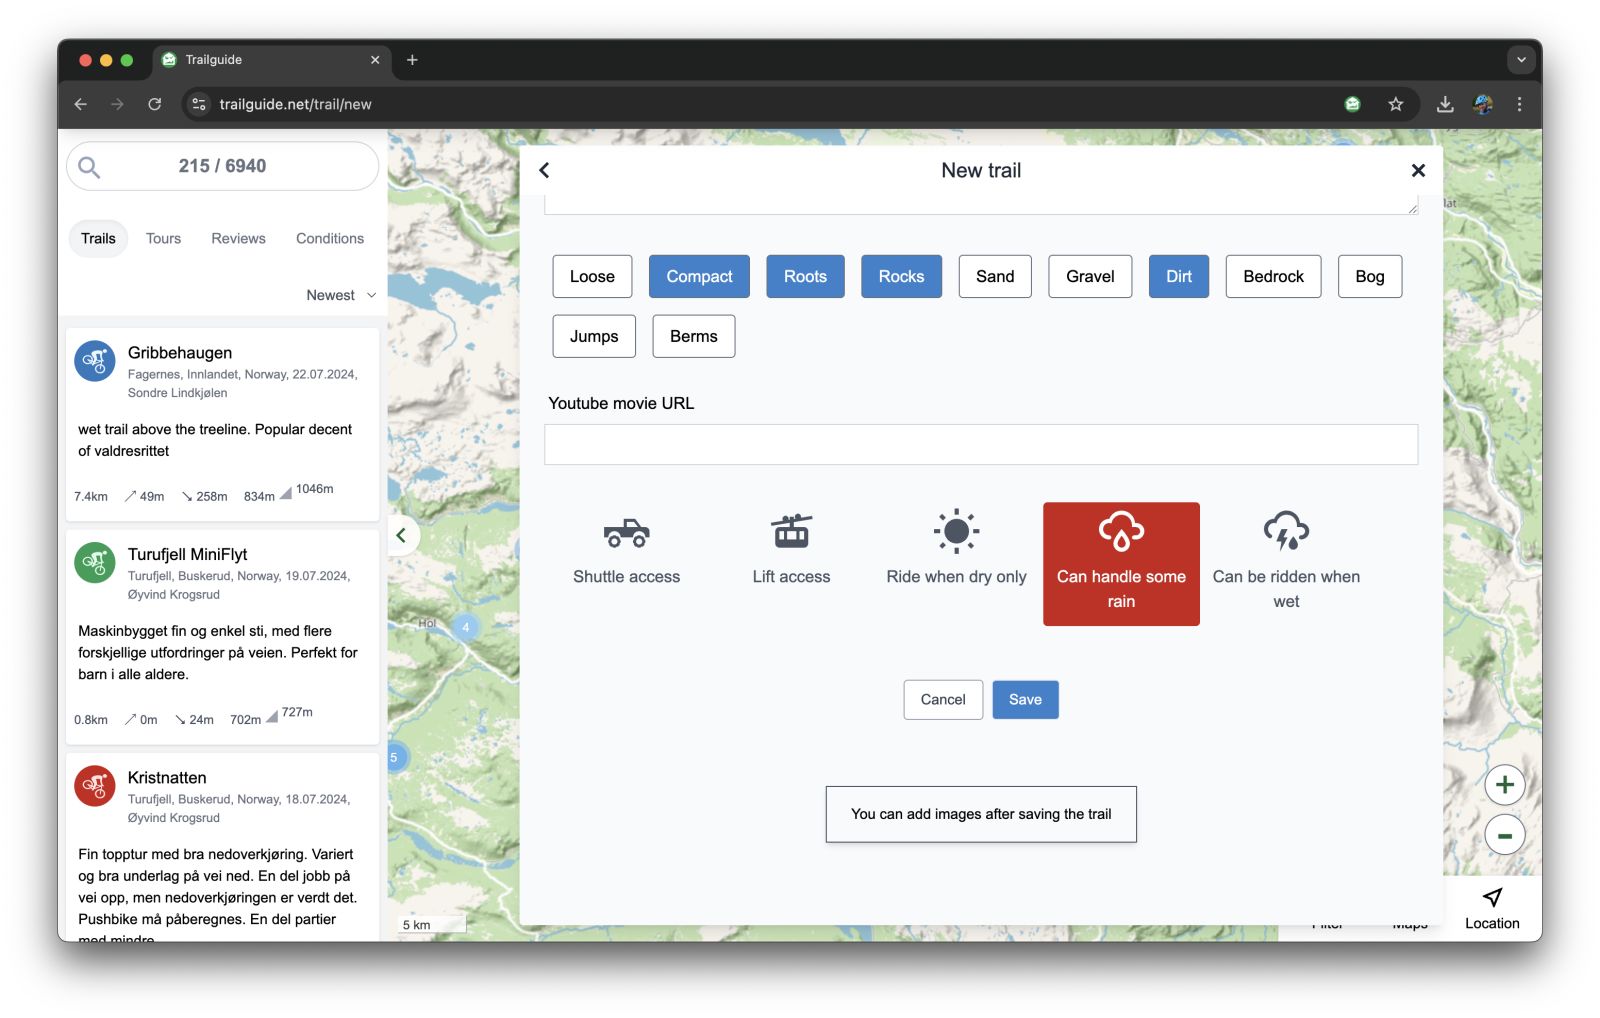
Click save and you’re done!
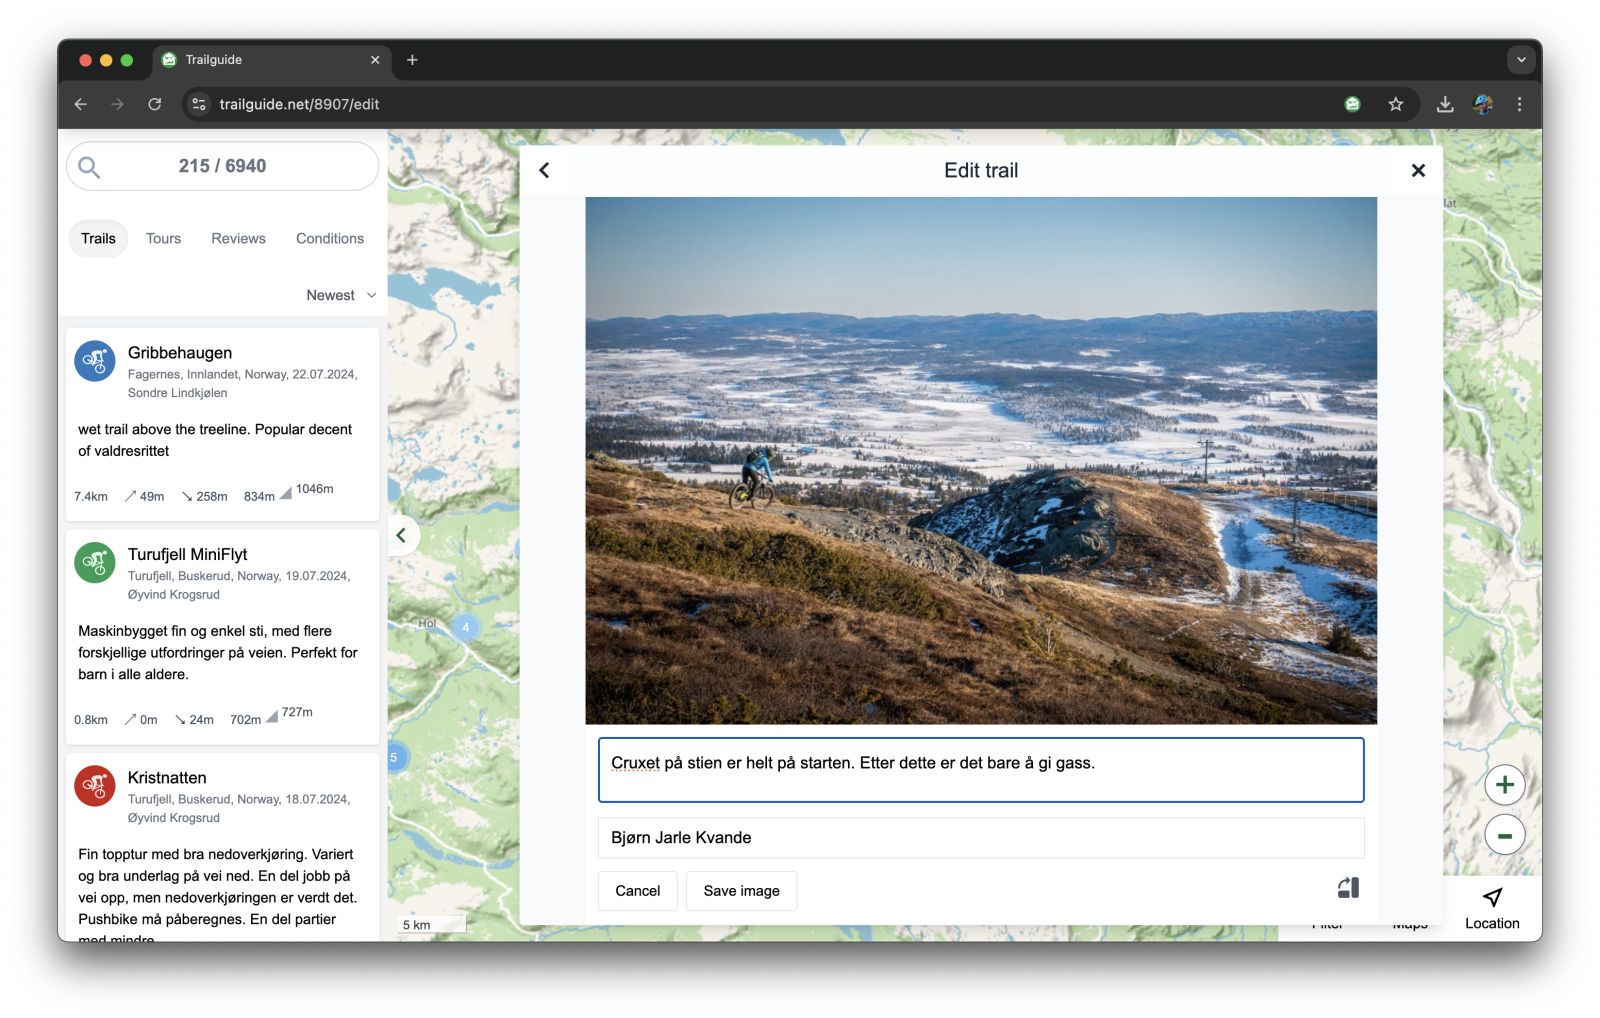
8. Add images
After you’ve saved the trail you can also add photos. A great picture will really make the trail stand out and encourage people to check it out.