How do I use the Trailguide app?
 Bjørn Jarle Kvande
Making an easy-to-use and beautiful user interface is an art. A programmer's brain and a designer's brain is often very different, and I am a programmer. However, I use the app a lot myself and I watch others using it. I have made my best effort to make it easy to use.
The main screen

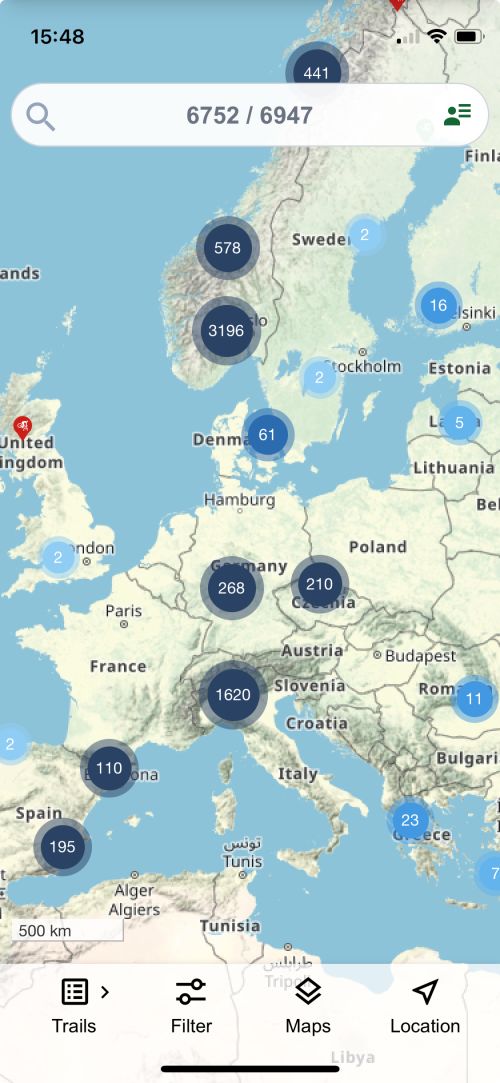
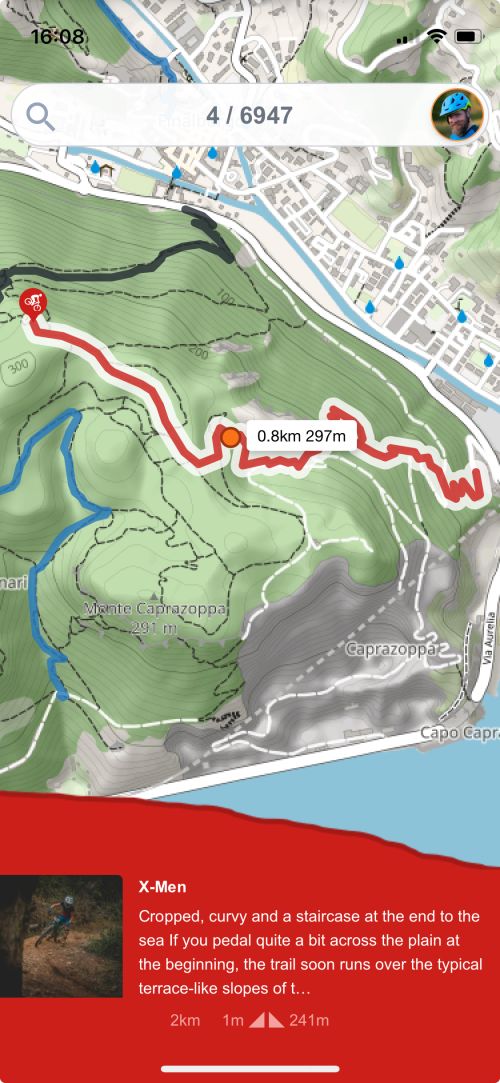
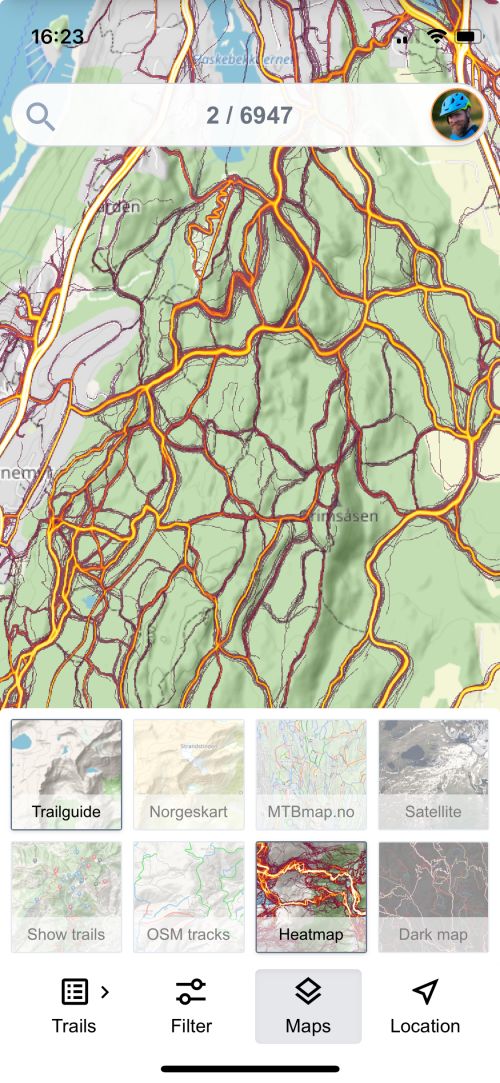
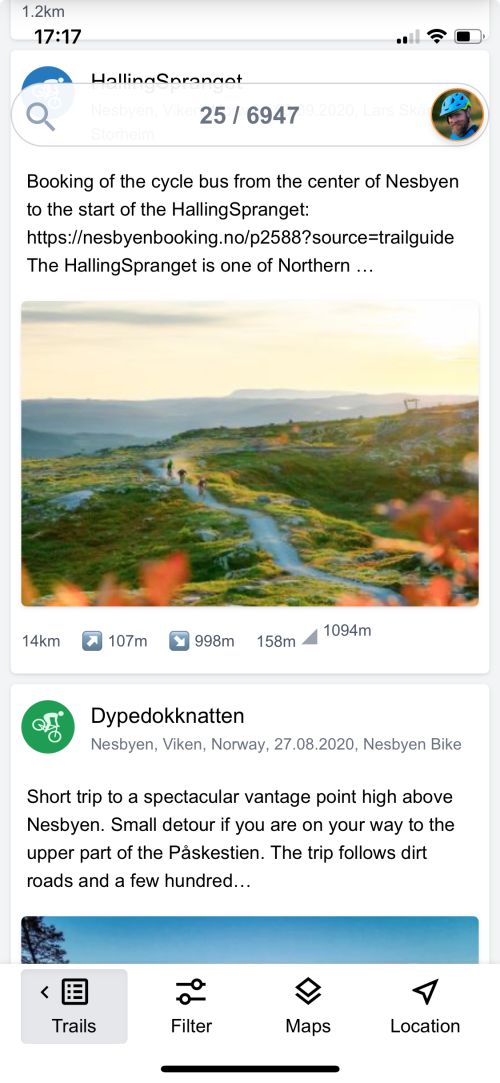
When opening the Trailguide app you will see the main map with the search field at the top and the main navigation bar at the bottom.
The numbers 6752/6947 in the search field indicate how many trails are within the current map section (6752) and how many trails are available in total (6947).
The icon to the right gives you access to sign in to the app, set the language, and to adjust app settings.
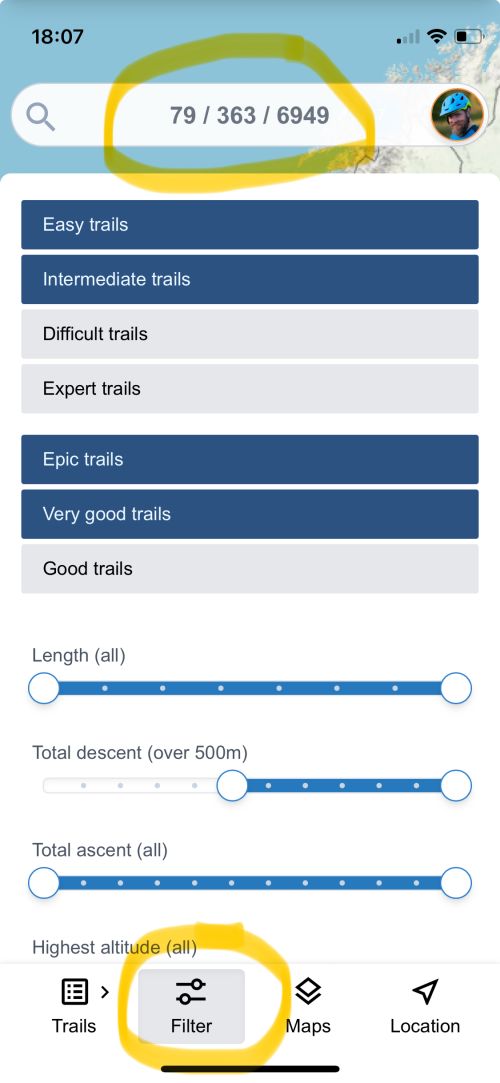
The bottom bar gives you access to list the available trails, adjust the content to your liking, change the base map, add map overlays such as a heatmap, and to show your current location on the map.
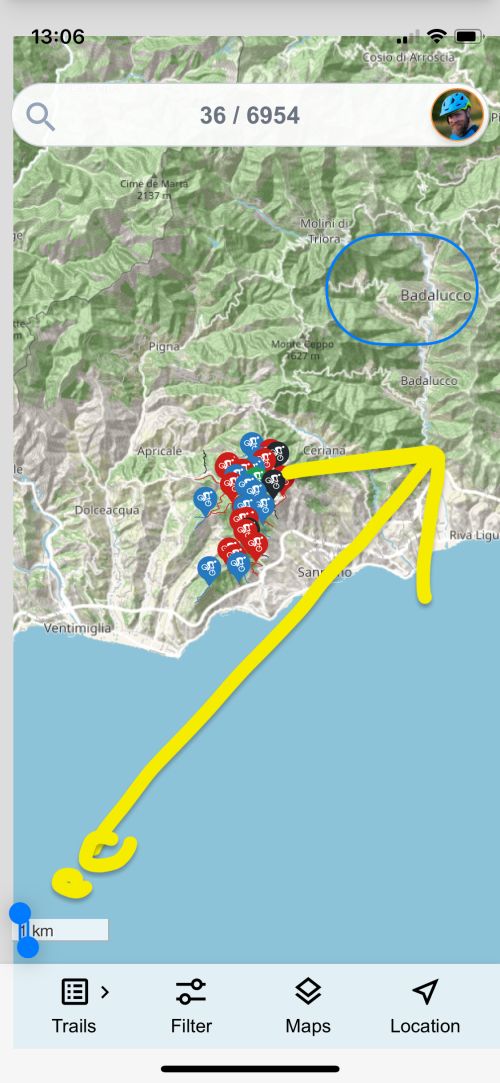
The map
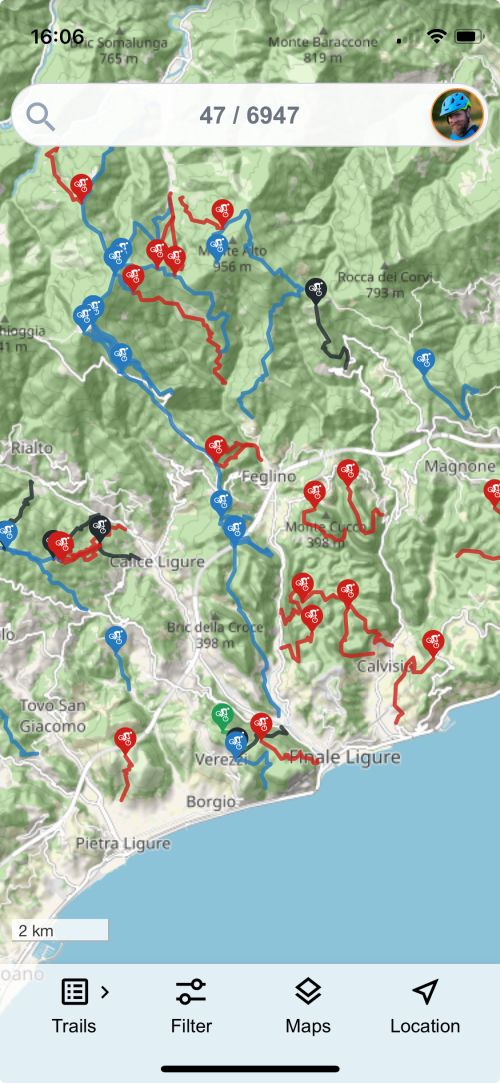
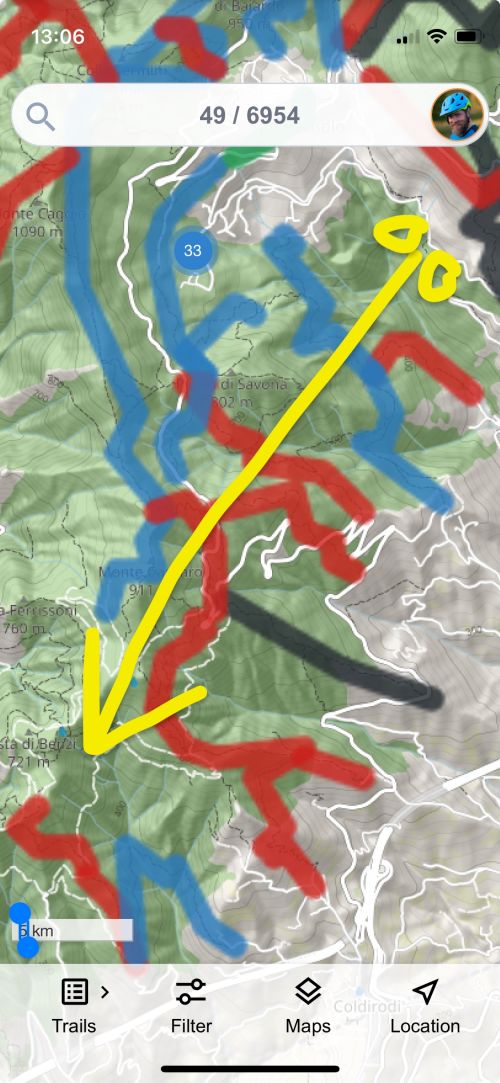
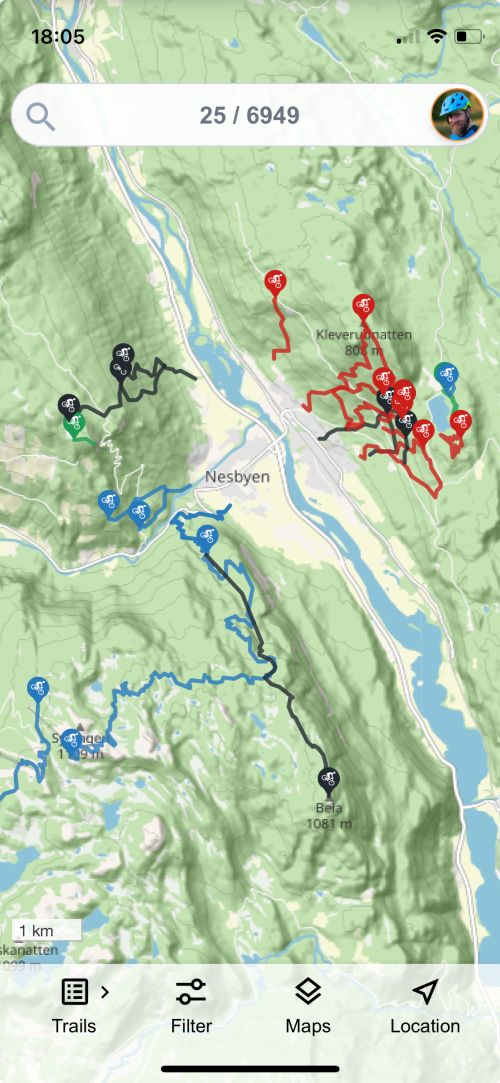
The main map shows trails clustered in blue "bubbles" of varying sizes indicating the number of trails in the area. Clicking on a bubble will zoom in to that specific area and reveale the trails.
Clicking on a track will show information about it at the bottom of the screen. Clicking on the bottom information bar will open the full trail page. Clicking a selected track will unselect it.

Map layers
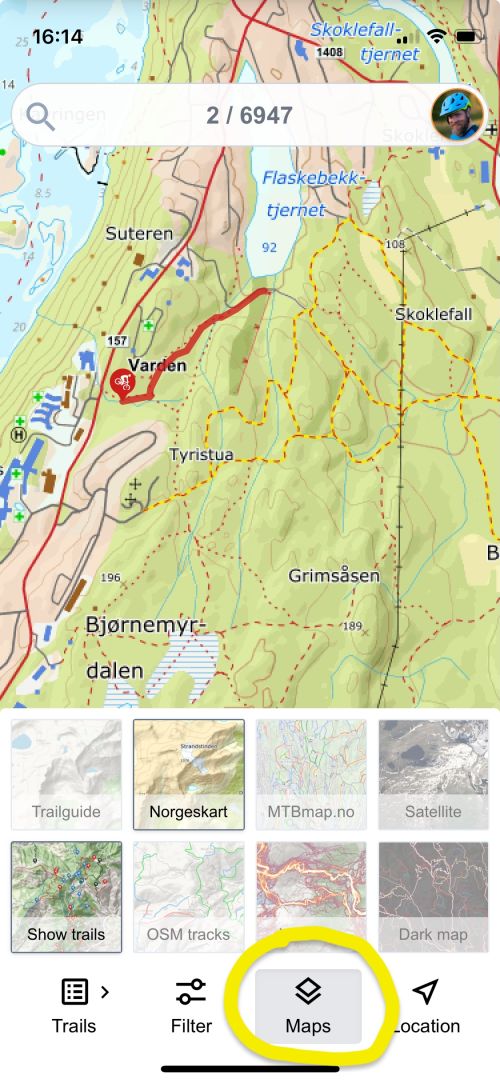
You can select your base map layer and map overlays by clicking the Maps icon at bottom.
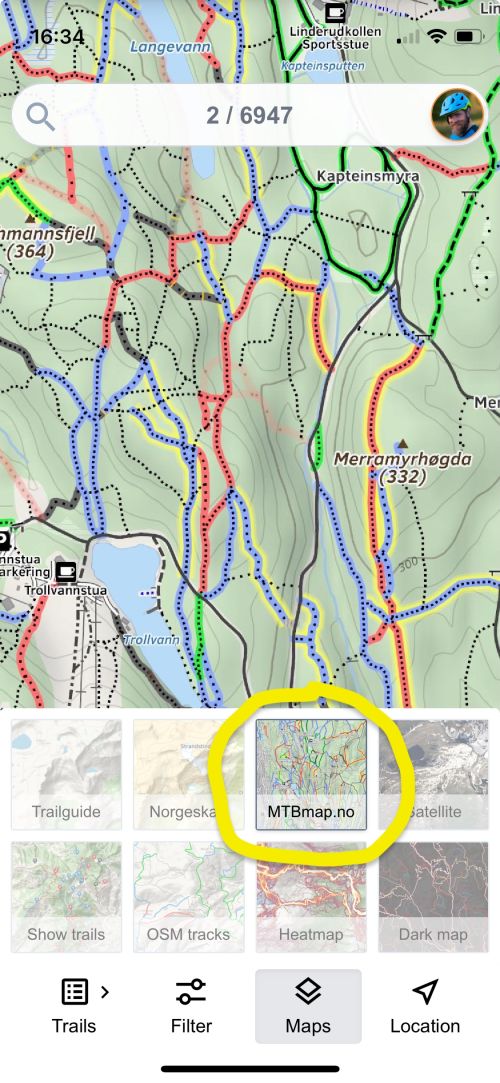
For the base layer you can select the standard Trailguide map, Norgeskart, MTBmap, and Google satellite images.
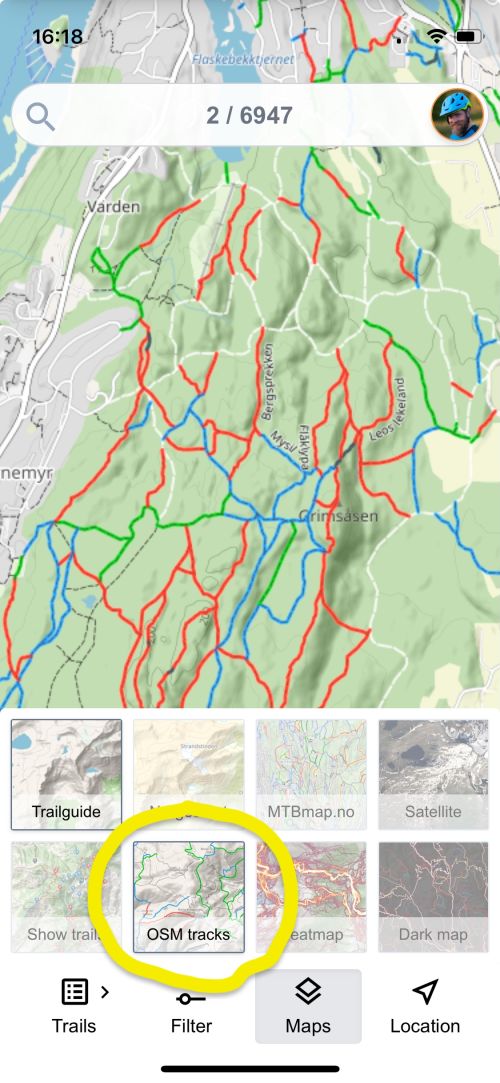
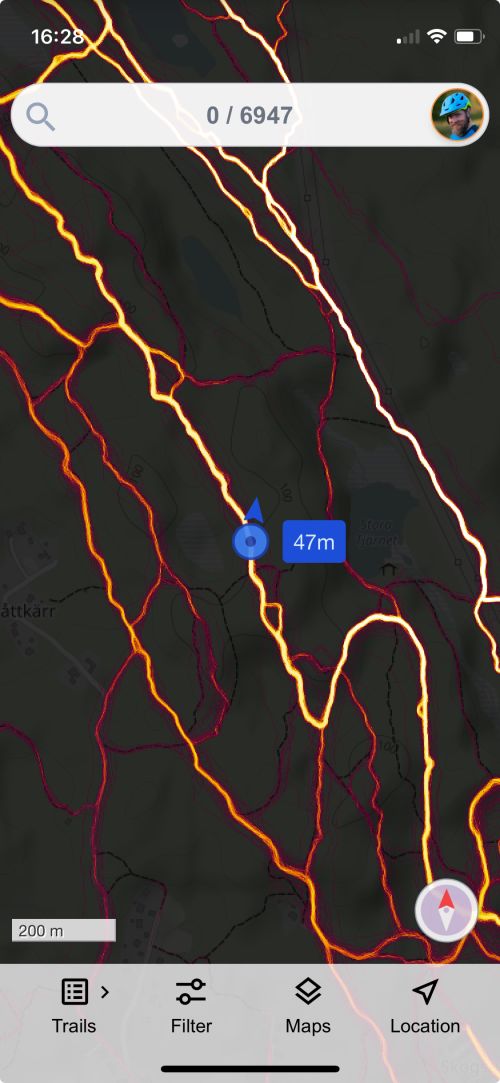
You can turn on map overlays such as OSM tracks, and a biking heatmap. You can also turn off the trails from the trailguide database if you prefer to navigate after OSM tracks or the heatmap.

Browse the content
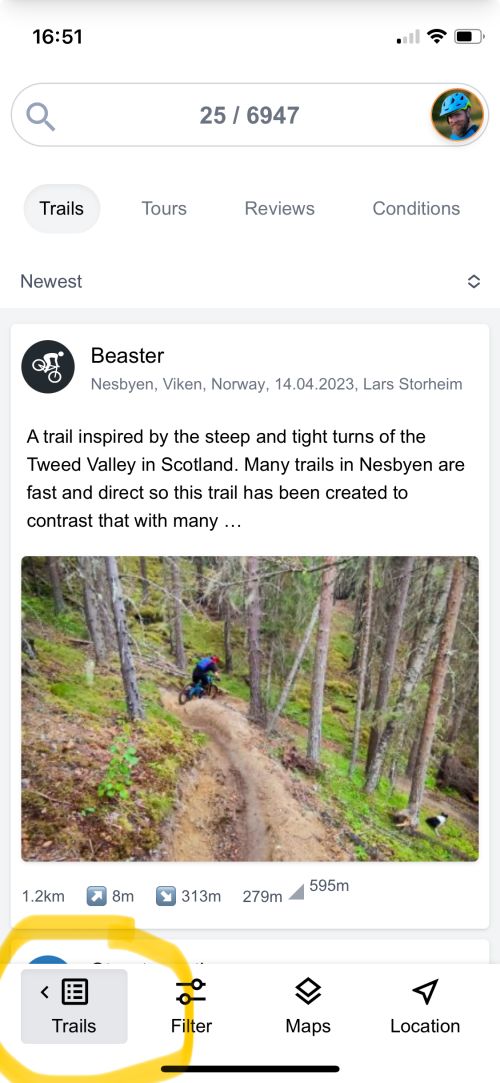
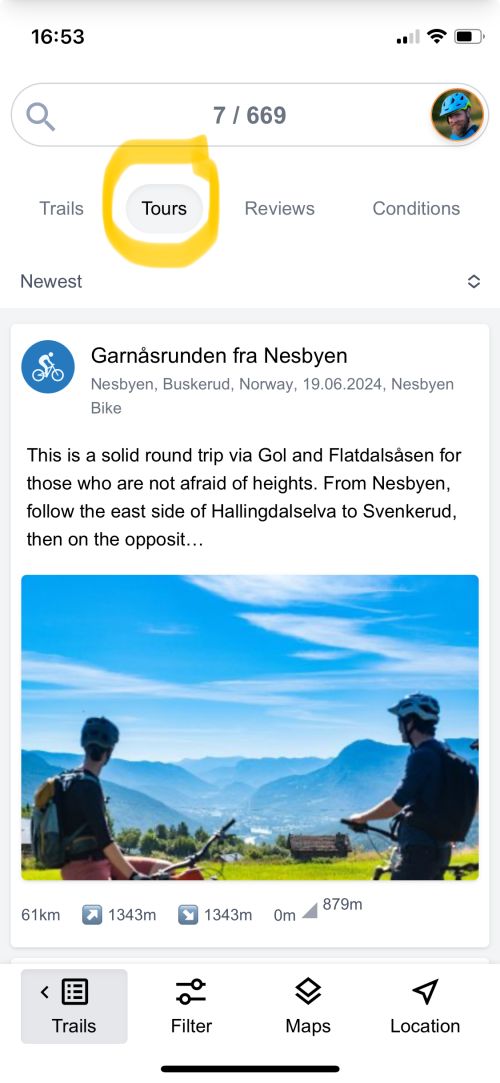
Browse the trails within the current map selection by clicking the Trails icon in the bottom navigation bar. Clicking on an entry in the list will open the trail page with further information, images, videos and detailed maps.
If you want to contribute with your local trails, see how you add trails using your computer.
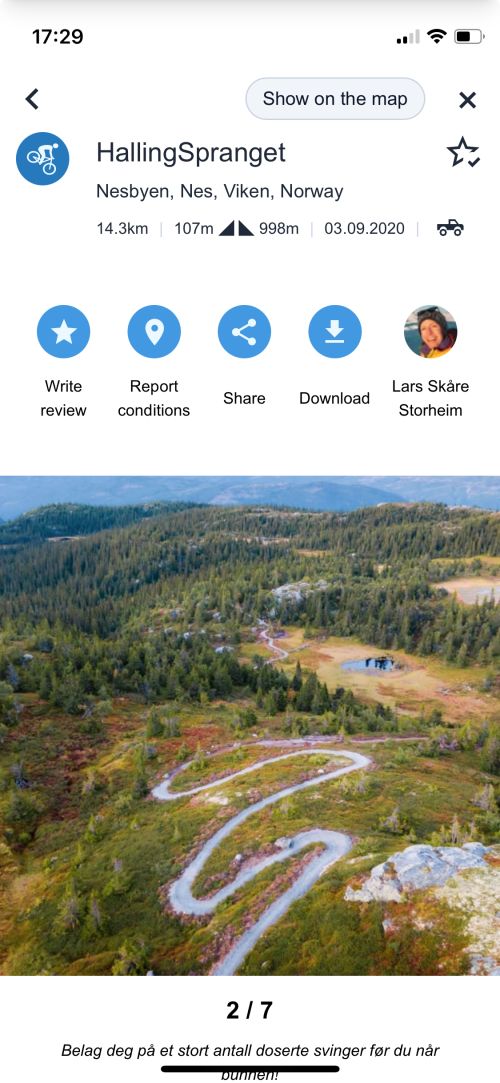
Detailed trail information
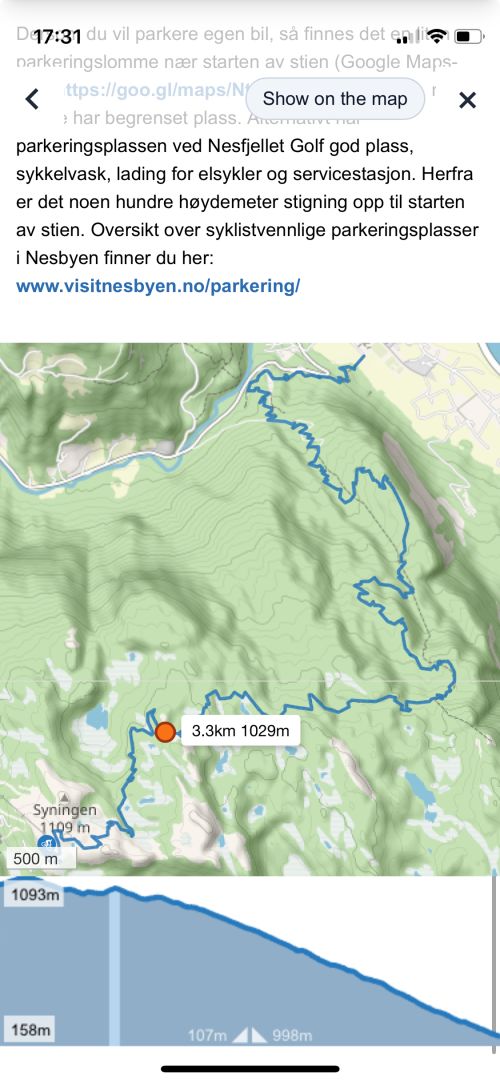
For trails and tours on Trailguide you will find descriptions, track maps, elevation profiles, images, videos, reviews, and condition reports.
You find other trails nearby and detailed data such as track length and total descent.
You can also download the GPS-track if you want to transfer it to your favorite GPS device.
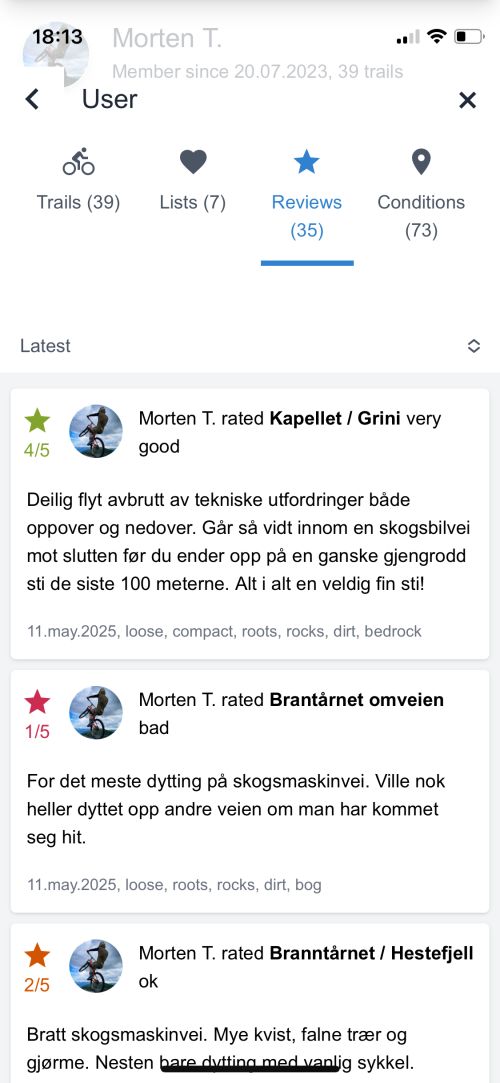
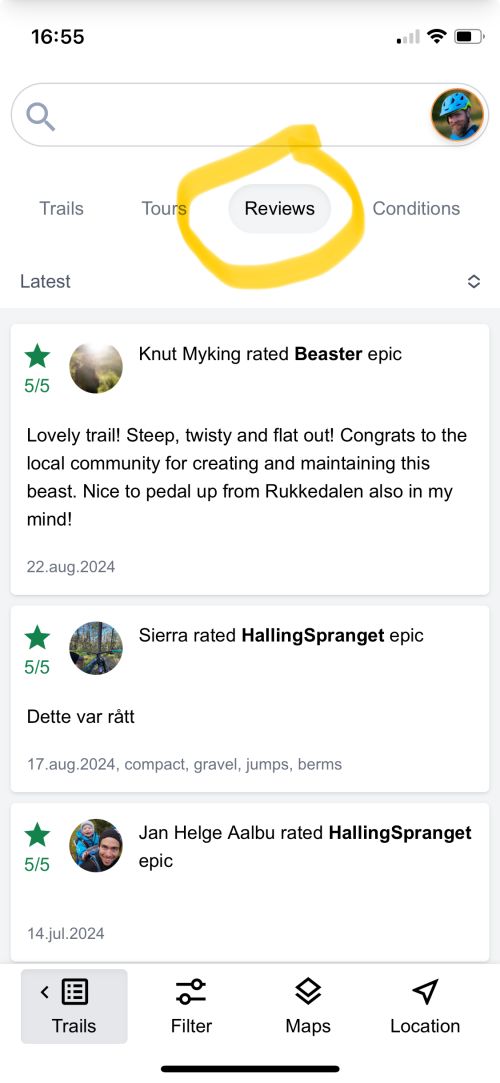
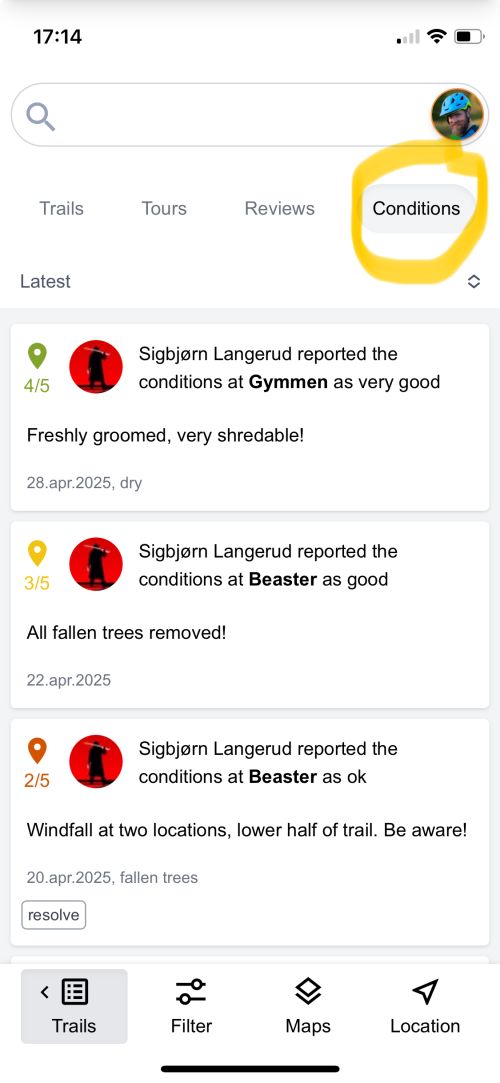
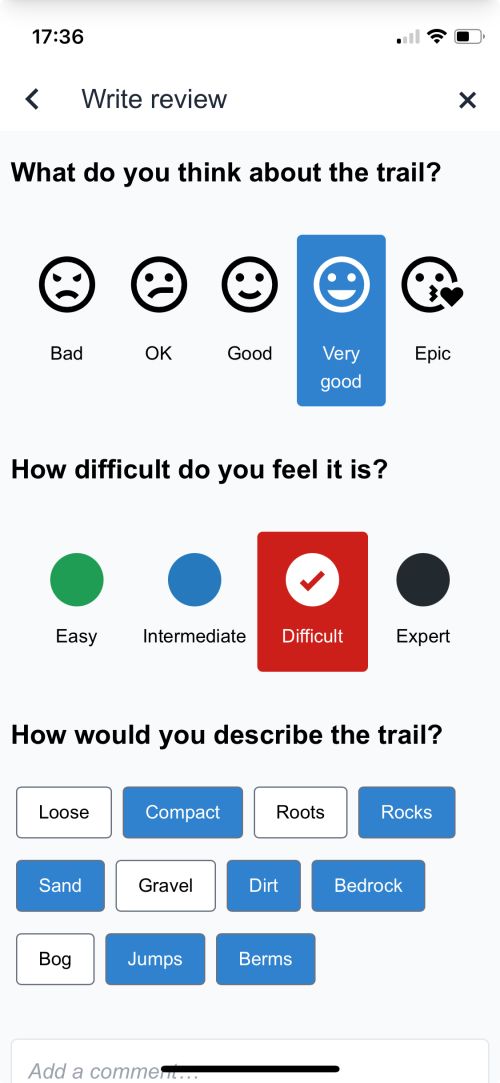
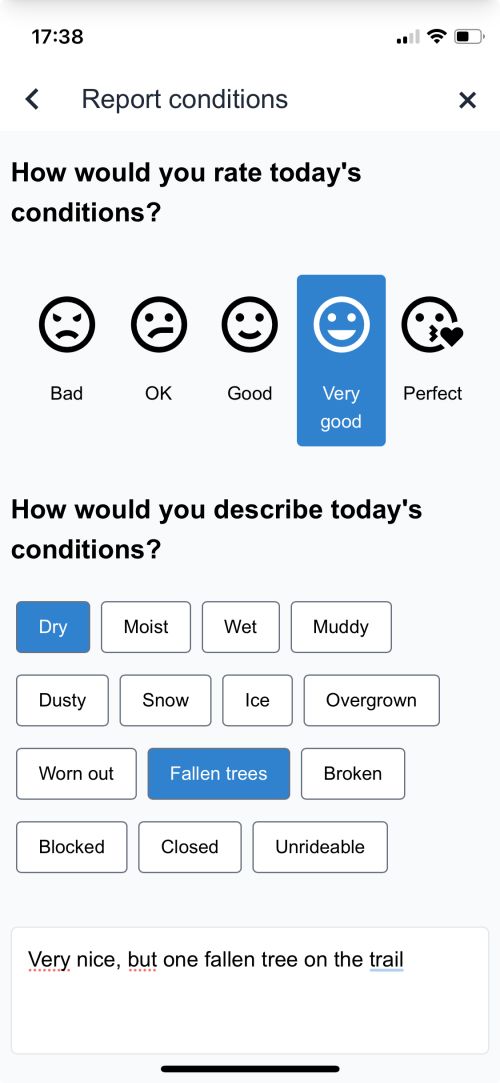
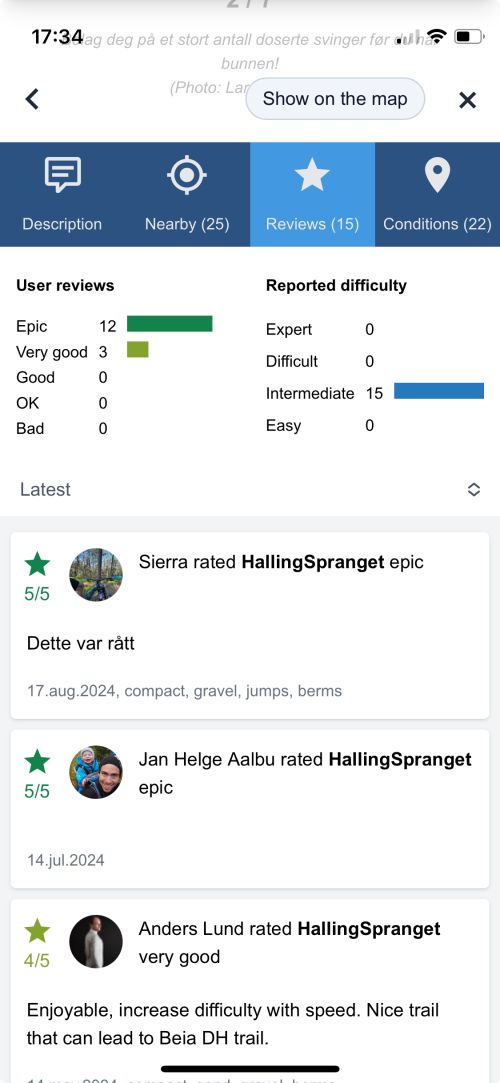
Give feedback on trails
Imagine you found a trail that really did not meet your expectations, and you wan to let others know. Or you just found an absolutely amazing trail and want to share your experience.
You can give feedback in the form of reviews and condition reports. Really bad reports will be picked up by the Trailguide team and the trail might be removed or change from a trail to a tour to keep th quality of the content high.
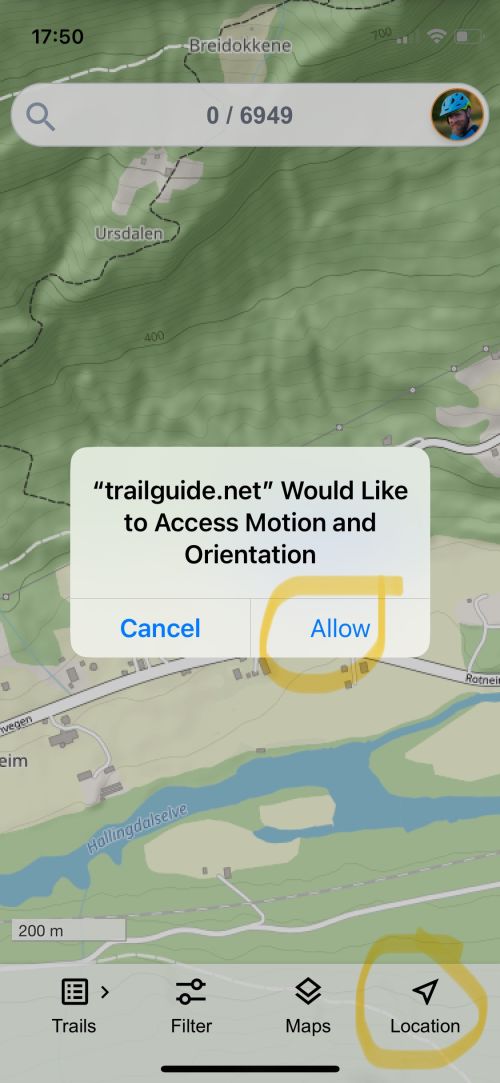
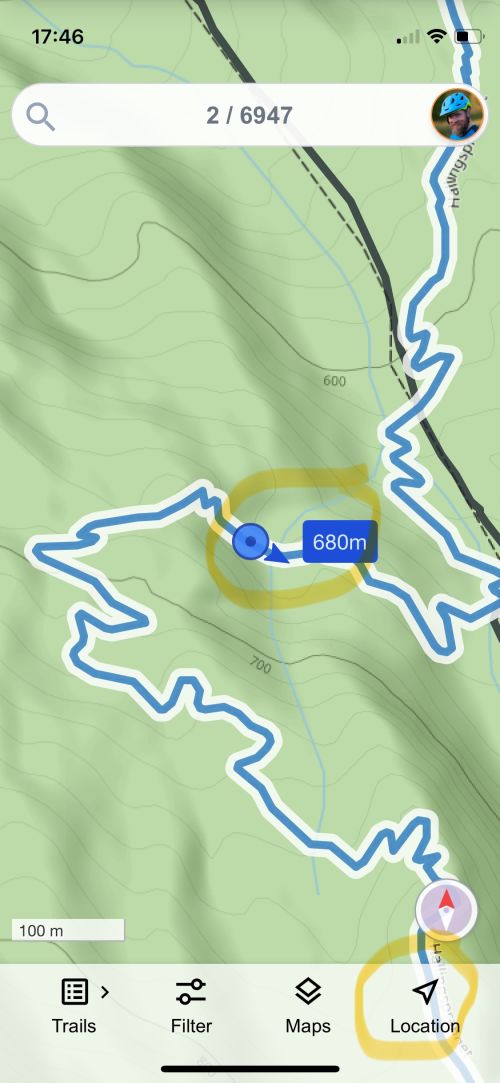
Navigation
Use the GPS of your phone to navigate using Trailguide. If you are having trouble getting your GPS to work check here for how to enable GPS on your phone.
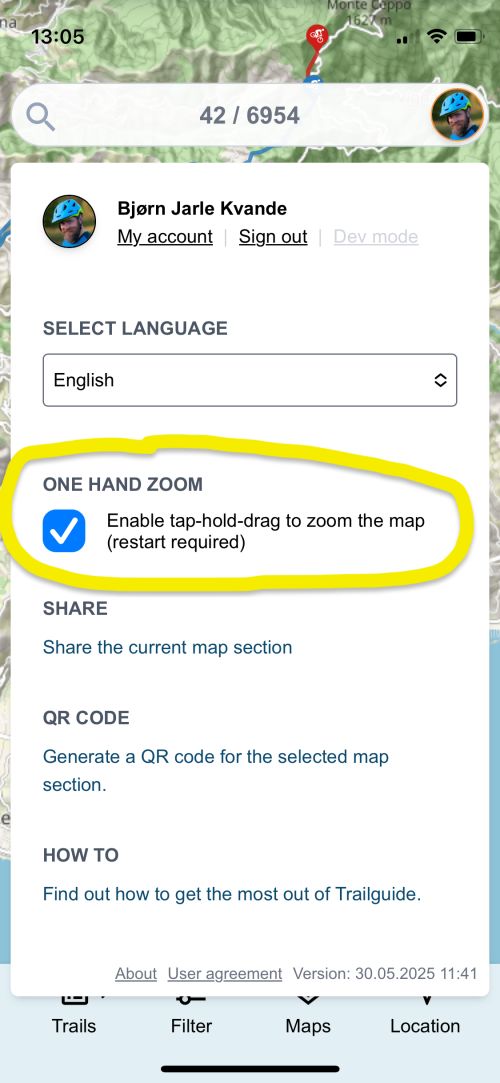
One-handed zoom
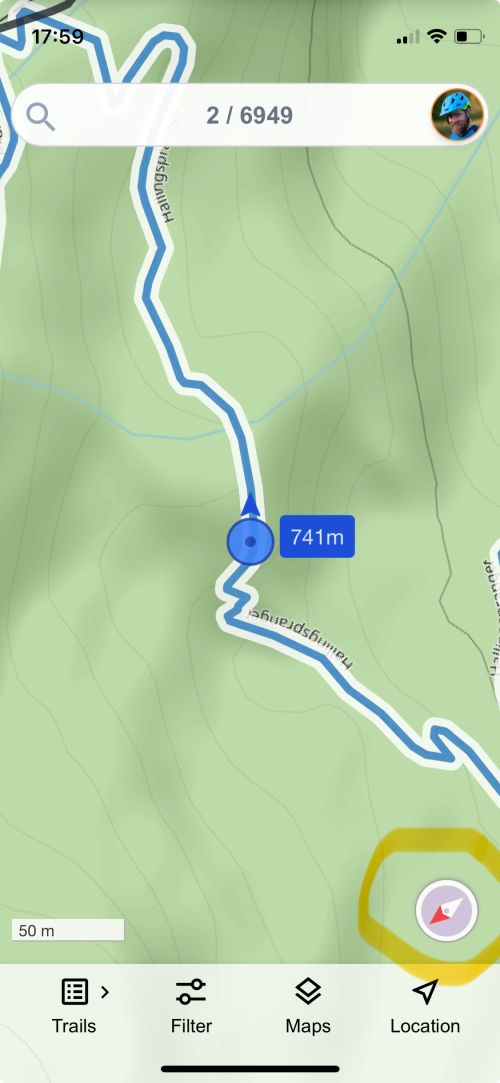
If you frequently use the app with one hand while biking and need to zoom in and out, you can enable one-handed zoom from the settings menu.
To perform one-handed zoom, double-tap the map with one finger and then drag your finger up or down to zoom in or out.
It is a little bit of a hack and if the screen gets stuck, just double-tap and try to zoom to unstuck it. When zooming out there might be some artifacts on the map if you use an iPhone.
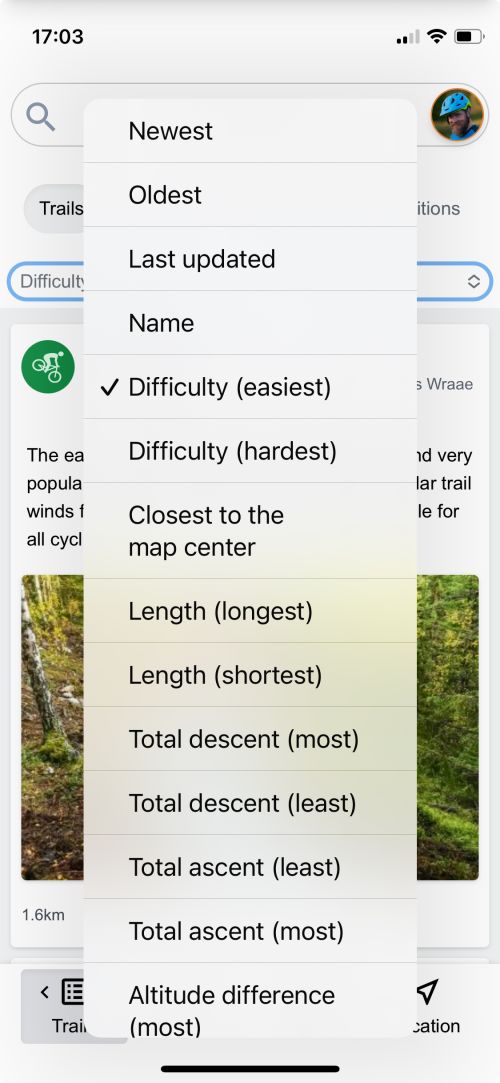
Searching and filtering
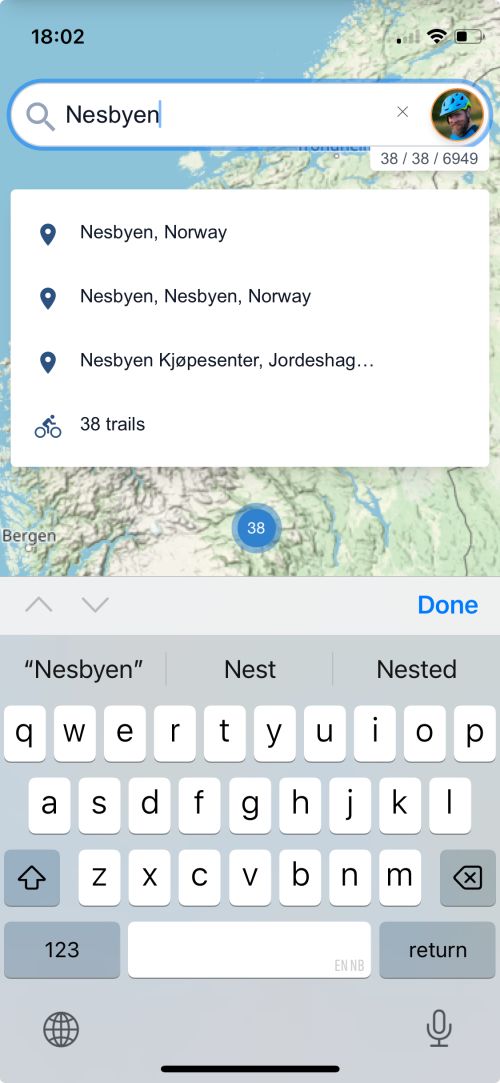
Use the search field to search for trails, places, and users.
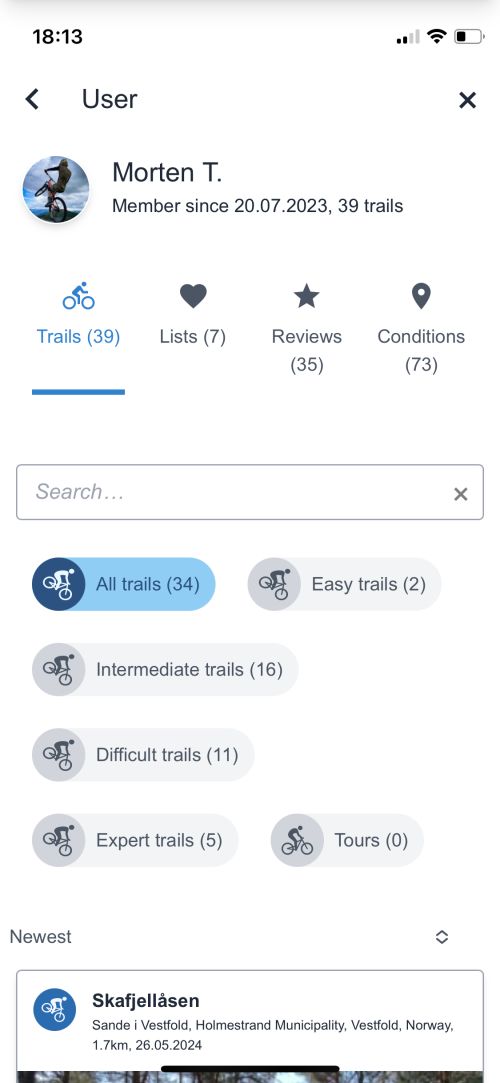
User page
See all the content added by a single user on Trailguide.